Your Booking Calendar on Quickbase website — live in 3 steps
SociableKIT syncs your booking calendar automatically. Set up once, embed anywhere — free to start, no coding required.
-
Create in 60 seconds
Pick Booking Calendar in the dashboard and connect your source.
-
Match your brand
Colors, fonts, layout — tune it until it feels native to your site.
-
Paste one line of code
Drop the embed snippet on your Quickbase website. No dev team needed.
Embed Booking Calendar with SociableKIT — step by step
Create your widget in the dashboard, copy the embed code, and paste it on your Quickbase website. Screenshots included so you never get stuck.
Create and customize your Booking Calendar widget
The first part is creating your Booking Calendar widget using the SociableKIT dashboard. Customize the look and feel to match your brand. Follow the steps below.
-
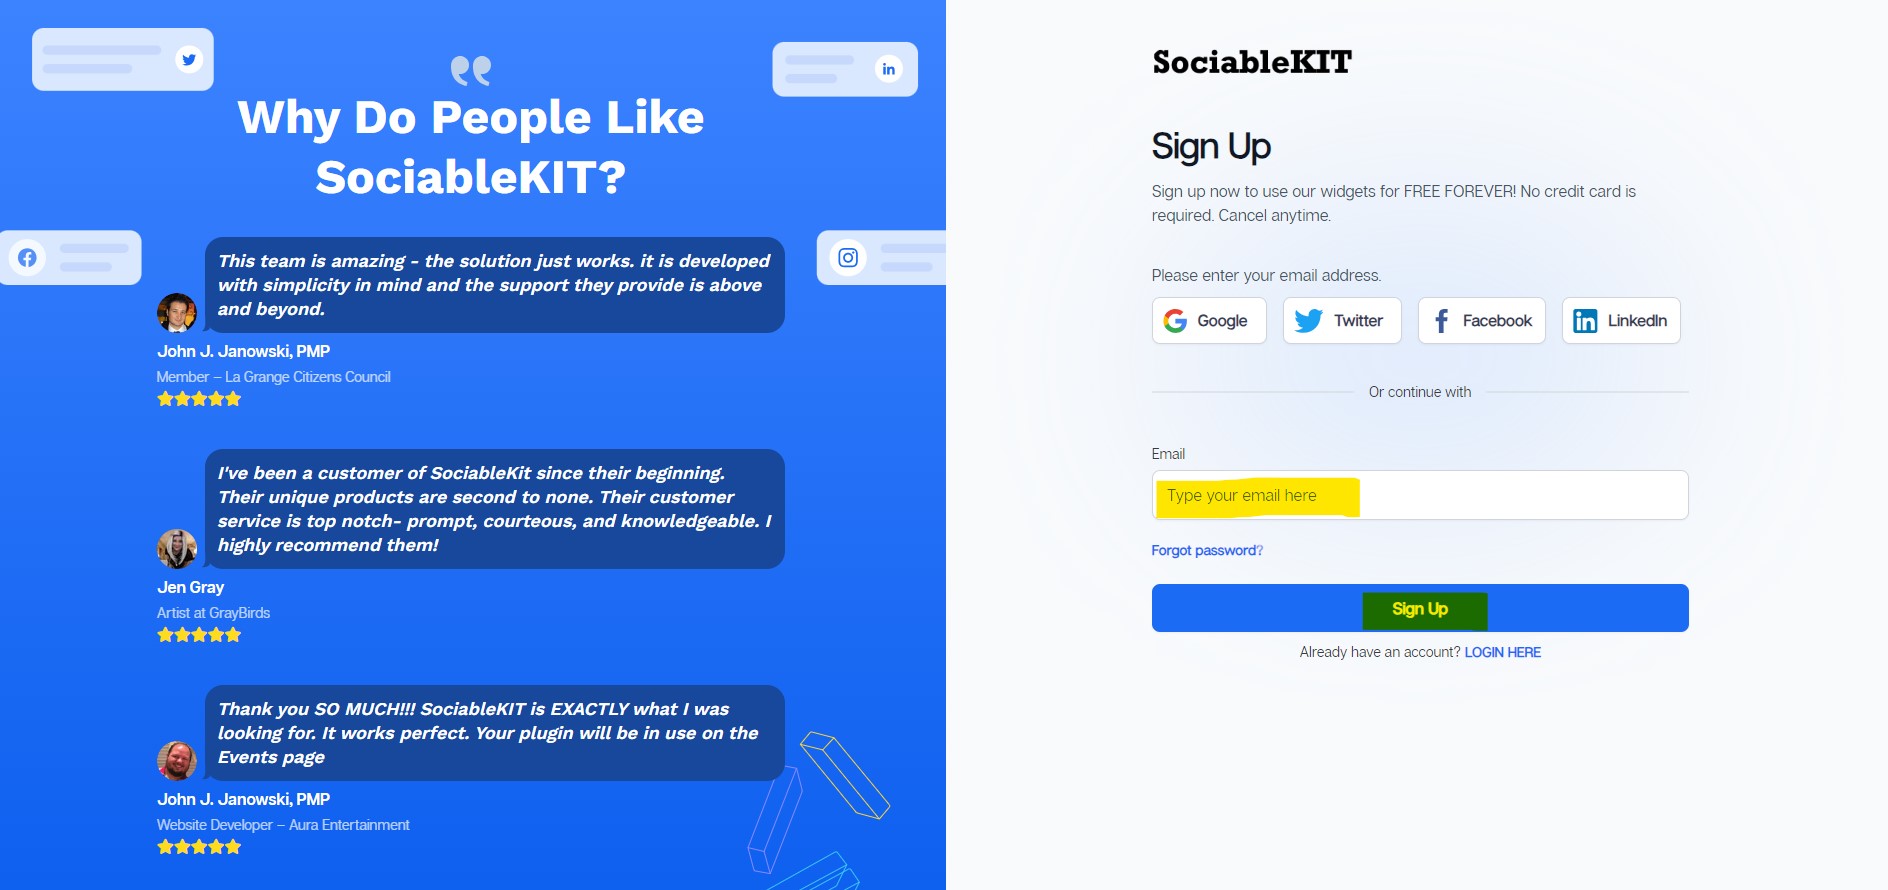
Sign up FREE or login to SociableKIT. You can login here if you already have an account. Once you sign up, you will start your 7-day premium trial. After 7 days, you can activate the free plan if you don't need our premium features.

-
Select "Booking Calendar" on the dropdown. SociableKIT offers several social media feeds widgets. You might need to search it using the highlighted area below. Once found, you can then select it.

-
Customize your feed. Click the "NEXT" button to show the customization options of your social feed. You can change the layout, colors, font, and more to match your brand. Click the Save changes button.

-
Copy the embed code. Click the "Embed on website" button on the upper right corner. Select your website builder. On the popup, copy the JavaScript embed code.

- Paste the embed code and save your Quickbase website page. Please follow the second part below to add Booking Calendar widget to your Quickbase website .


Add Booking Calendar widget to your Quickbase website
The second part is adding your Booking Calendar widget to your Quickbase website . After you customize your Booking Calendar widget and copied the embed code, it is time to add it to your Quickbase website . Follow the steps below.
- Copy your free Booking Calendar widget embed code. Make sure you followed the first part above. It detailed how to you can create and customize your widget to get your free embed code.
- Login to your account in Quickbase. You can start on a free trial and sign-up for free using your Google account.
![]()
- Create a new app. You can create a new by clicking "Create new app" or create new page under your new app.
![]()
- A pop-up message will appear and you can choose any variations you want for your app. In this case, We can choose a "Start from scratch" option.
![]()
- Name your app with the preferred name on the right side of your screen and click "Create app" button.
![]()
- You can also modify your app by adding other properties then click and drag to the center which is blank space.
![]()
- After that, the customization page will appear. Click the "Customize this page" button.
![]()
- The settings and some widgets for your customization page will appear. You will see the description for your app settings near it will be "Pages > Default Dashboard".
![]()
- Click and drag the "Web page" under the blank page.
![]()
- Click the settings button that looks like a gear near the delete button and the new pop-up will show. Paste your embed link code from SociableKIT and hit enter.
![]()
- The preview will show on the blank page once you paste the unique link. Click the save button to save your work.
![]()
- And done! You can view your finished work by clicking the "Print this page" button and the new tab or window will show.
![]()
- View your SociableKIT widget on your website. Done!
![]()


Website builders
Paste your embed code on any platform
SociableKIT works with every major website builder. Pick yours below for copy-paste instructions tailored to that platform.
To embed Booking Calendar on your Quickbase site, follow the steps below after you have your SociableKIT embed code.
- Sign up free to SociableKIT and create your Booking Calendar widget.
- Customize your widget and copy the embed code from the dashboard.
- Login to your account in Quickbase. You can start on a free trial and sign-up for free using your Google account.
![]()
- Create a new app. You can create a new by clicking "Create new app" or create new page under your new app.
![]()
- A pop-up message will appear and you can choose any variations you want for your app. In this case, We can choose a "Start from scratch" option.
![]()
- Name your app with the preferred name on the right side of your screen and click "Create app" button.
![]()
- You can also modify your app by adding other properties then click and drag to the center which is blank space.
![]()
- After that, the customization page will appear. Click the "Customize this page" button.
![]()
- The settings and some widgets for your customization page will appear. You will see the description for your app settings near it will be "Pages > Default Dashboard".
![]()
- Click and drag the "Web page" under the blank page.
![]()
- Click the settings button that looks like a gear near the delete button and the new pop-up will show. Paste your embed link code from SociableKIT and hit enter.
![]()
- The preview will show on the blank page once you paste the unique link. Click the save button to save your work.
![]()
- And done! You can view your finished work by clicking the "Print this page" button and the new tab or window will show.
![]()
- View your SociableKIT widget on your website. Done!
![]()
To embed Booking Calendar on your WordPress site, follow the steps below after you have your SociableKIT embed code.
- Sign up free to SociableKIT and create your Booking Calendar widget.
- Customize your widget and copy the embed code from the dashboard.
- Log in to your WordPress site.
![]()
- Go to the Posts section. To add a new widget, click the Add Post button at the top.
![]()
- To edit an existing widget, click the title of the post that has your widget instead. Skip this step if you’re adding a new post.
![]()
- In your SociableKIT editor, click Get code at the top right.
![]()
- In the Get the embed code window, make sure the JavaScript tab is selected, then click “Copy code.”
![]()
- Back in WordPress, click the + icon in the post body, type Custom HTML in the search bar, then select the Custom HTML block.
![]()
- In the HTML tab, paste the code, then click Update.
![]()
- Click the Save button at the top right of your WordPress post (or Publish if it’s a new post).
![]()
- The widget will appear on your WordPress post. Done!
![]()


To embed Booking Calendar on your Wix site, follow the steps below after you have your SociableKIT embed code.
- Sign up free to SociableKIT and create your Booking Calendar widget.
- Customize your widget and copy the embed code from the dashboard.
- Log in to Wix.
![]()
- On your existing website, click the “+ Add” button at the top left.
![]()
- Click “Elements”.
![]()
- In the Add Elements panel, click “Embed” from the left menu.
![]()
- Under the Embed section, click “Embed code” to add it to your page.
![]()
- Click the HTML Element on your page, then click the Settings (gear) icon in the toolbar above it.
![]()
- Under “Choose what to embed”, open the dropdown and select “Link”.
![]()
- Paste the link you copied from SociableKIT into the Link field, then click “Apply”.
![]()
- Click “Publish” at the upper right.
![]()
- Click “View Site”. Done!
![]()


To embed Booking Calendar on your Squarespace site, follow the steps below after you have your SociableKIT embed code.
- Sign up free to SociableKIT and create your Booking Calendar widget.
- Customize your widget and copy the embed code from the dashboard.
- Log in to Squarespace.
![]()
- In the Pages panel, click the page where you want the widget, then click the Edit button at the top left of the page preview.
![]()
- In the page section, click the Add Block button at the top left.
![]()
- In the search bar, type Code, then select the Code block.
![]()
- In your SociableKIT editor, click Get code at the top right.
![]()
- In the “Get the embed code” window, make sure the JavaScript tab is selected, then click Copy code.
![]()
- Back in Squarespace, open the Code block’s Content tab, make sure the Mode is set to HTML, then paste the embed code in the code area.
![]()
- Click the Save button at the top left of the page.
![]()
- Refresh your Squarespace page to check the widget. Done!
![]()


To embed Booking Calendar on your Webflow site, follow the steps below after you have your SociableKIT embed code.
- Sign up free to SociableKIT and create your Booking Calendar widget.
- Customize your widget and copy the embed code from the dashboard.
- Login to Webflow.
![]()
- On your existing website, click the "Page: ...." in the upper left corner then click the "Create new page" icon.
![]()
- Once done add a name for your new page then click "Save".
![]()
- On the left, click "Add Element". Drag "Embed" to your page.
![]()
- Paste the JavaScript code you copied from SociableKIT.
![]()
- On the upper right, click "Publish" > "Publish to Selected Domains".
![]()
- View your page. Done!


To embed Booking Calendar on your Shopify site, follow the steps below after you have your SociableKIT embed code.
- Sign up free to SociableKIT and create your Booking Calendar widget.
- Customize your widget and copy the embed code from the dashboard.
- Log in to Shopify.
![]()
- On the left side, click Online Store.
![]()
- Click “Pages,” then click Add page at the top right. To edit an existing widget page, click its title instead.
![]()
- In your SociableKIT editor, click Get code at the top right.
![]()
- In the Get the embed code window, make sure the JavaScript tab is selected, then click Copy code.
![]()
- Back in Shopify, Click the Show HTML icon (<>) in the Content toolbar.
![]()
- Enter a page title, then click Save.
![]()
- Click the Save button at the top.
![]()
- Click the Preview button at the top right to check your widget. Done!
![]()
![]()


To embed Booking Calendar on your HTML site, follow the steps below after you have your SociableKIT embed code.
- Sign up free to SociableKIT and create your Booking Calendar widget.
- Customize your widget and copy the embed code from the dashboard.
- Open your HTML file.
![]()
- You can create a new HTML page or edit your existing HTML page.
![]()
- Paste the Javascript code you copied from SociableKIT. Paste it where you want the widget to appear.
![]()
- Save your HTML page.
![]()
- You may now upload your HTML page to your web hosting.


To embed Booking Calendar on your Google Sites site, follow the steps below after you have your SociableKIT embed code.
- Sign up free to SociableKIT and create your Booking Calendar widget.
- Customize your widget and copy the embed code from the dashboard.
- Login to Google sites.
![]()
- Create or edit an existing website. Click the ‘Blank site’ tile (the + icon) in the ‘Start a new site’ section to create a new website, or open your existing website from the ‘Recent sites’ section.
![]()
- Create a new blank page or edit your existing page. Identify which page you want the widget to appear on. On the right sidebar, under the ‘Insert’ tab, click the ‘Embed’ button.
![]()
- Add the widget. A popup ‘Embed from the web’ will open. Select the ‘Embed code’ tab, paste the embed code from your SociableKIT widget into the ‘HTML code goes here’ box, then click the ‘Next’ button.
![]()
- Preview your widget. A preview of your SociableKIT widget will be displayed. To change the code, click the pencil icon on the preview. When you’re happy with it, click the ‘Insert’ button to add the widget to your page.
![]()
- Publish your page. Click the ‘Publish’ button on the upper right corner of the page. Done!
![]()


Live preview
Pick a Booking Calendar template — see it live
Choose a starting design on the left and watch the preview update with real data. What you see is exactly what visitors get on your Quickbase website.
Common questions
Frequently asked questions
Everything you need to know about embedding Booking Calendar on your Quickbase website.
What is a Booking Calendar widget?
A Booking Calendar widget places your connected availability and scheduling experience directly on your website. It helps visitors find an open time and take the next step without sending messages back and forth.
How do I add a booking calendar to my website without coding?
Create the widget in SociableKIT, connect your booking calendar source, customize the design, and copy the generated embed code. Paste it into an HTML, custom code, iframe, or embed block on your website.
What do I need to connect my booking calendar?
You need a published and working booking page or calendar source that SociableKIT supports. Confirm that its services, availability, time zone, and booking rules are correct before embedding it.
Can visitors book directly from my website?
Yes, the widget can place the connected booking experience inside your website so visitors can view available times and schedule more easily. The connected booking platform remains responsible for creating and managing the final reservation.
Do I need an API key or a developer to install the widget?
No custom API development is required for the standard SociableKIT setup. You receive a reusable embed code that can be added to any supported website builder.
Will availability changes update automatically?
Yes, paid SociableKIT plans include automatic syncing, so you can keep the same embed code when eligible source information changes. The free plan lets you request a manual sync when you want to refresh the widget.
How quickly will a calendar change appear on my website?
The change must first be saved and available in the connected booking source. It can then appear after the next SociableKIT sync, so website updates may not be instant.
Can the widget prevent double bookings?
Double-booking protection depends on the connected booking system checking its calendars and availability before confirming a time. SociableKIT displays the booking experience but does not replace the source system that reserves and blocks each slot.
Can I offer different services, durations, or appointment types?
Yes, when those options are already configured in the connected booking source. SociableKIT can present the resulting booking experience, while service names, durations, prices, and availability remain managed at the source.
Can customers choose a staff member, room, or resource?
They can when the connected booking system supports staff or resource selection and you have configured it correctly. SociableKIT does not create those assignments by itself but keeps the booking flow accessible from your website.
Can I set buffer time, minimum notice, or daily booking limits?
These scheduling rules should be configured in the connected booking source. When the source uses them to calculate availability, the website booking experience can reflect the resulting open time slots.
Will customers receive booking confirmations and reminders?
Confirmations, reminders, and follow-up messages depend on the features and settings of the connected booking platform. SociableKIT embeds the booking flow but does not send appointment emails or text messages independently.
Can customers cancel or reschedule their bookings?
They can when the connected booking system provides cancellation or rescheduling controls. Set your notice periods and policies at the source so customers receive the correct options after booking.
Can I accept payments or deposits through the widget?
Payment collection depends on the connected booking platform or a separate approved checkout process. SociableKIT does not independently process appointment payments, deposits, refunds, or transaction fees.
How does the Booking Calendar widget handle time zones?
Time-zone behavior comes from the connected booking source and the settings used for the business and customer view. Check the published widget from another device or location to confirm that visitors see the correct appointment times.
Can I collect custom questions or customer consent?
Custom fields, required questions, and consent messages must be configured in the connected booking system when it supports them. Customer and appointment records remain managed by that source rather than being stored as booking records inside SociableKIT.
Can I accept group, class, or capacity-based bookings?
Yes, when the connected booking platform supports several attendees reserving the same time slot. Set the capacity and service rules at the source so the remaining availability stays accurate.
Can I display multiple calendars, locations, or booking pages?
Yes, additional booking calendars can be connected as separate sources and used in their own widgets. Choose a SociableKIT plan with enough sources for the teams, services, branches, or locations you want to feature.
Is the Booking Calendar widget mobile responsive and customizable?
Yes, the widget adjusts to desktop, tablet, and mobile screens and can be styled with your colors, fonts, layout, spacing, and calls to action. SociableKIT works with major website builders and other platforms that accept HTML, JavaScript, an iframe, or custom embed code.
Is there a free plan, unlimited views, and customer support?
SociableKIT offers a free plan with one source, one widget, 2,000 monthly views, full design customization, branding, and sync requests. Paid plans add automatic syncing and unlimited widget views, with human chat and email support (24/7 on Business and Enterprise plans).
Add your Booking Calendar widget today
Set up in minutes. Free forever to start.
Create your widgetFree forever · No credit card · Cancel anytime