Your User-generated content on Shopify website — live in 3 steps
SociableKIT syncs your user-generated content automatically. Set up once, embed anywhere — free to start, no coding required.
-
Create in 60 seconds
Pick User-generated content in the dashboard and connect your source.
-
Match your brand
Colors, fonts, layout — tune it until it feels native to your site.
-
Paste one line of code
Drop the embed snippet on your Shopify website. No dev team needed.
- Select specific widget type:
-
 Instagram Hashtag Feed
-
 X Hashtag Feed
-
 Tiktok hashtag feed
-
 Facebook Hashtag Feed
-
 Content Aggregator
-
 Linkedin Hashtag Posts
- Free forever plan
- No credit card
- Cancel any time
Embed User-generated content with SociableKIT — step by step
Create your widget in the dashboard, copy the embed code, and paste it on your Shopify website. Screenshots included so you never get stuck.
Create and customize your User-generated content widget
The first part is creating your User-generated content widget using the SociableKIT dashboard. Customize the look and feel to match your brand. Follow the steps below.
-
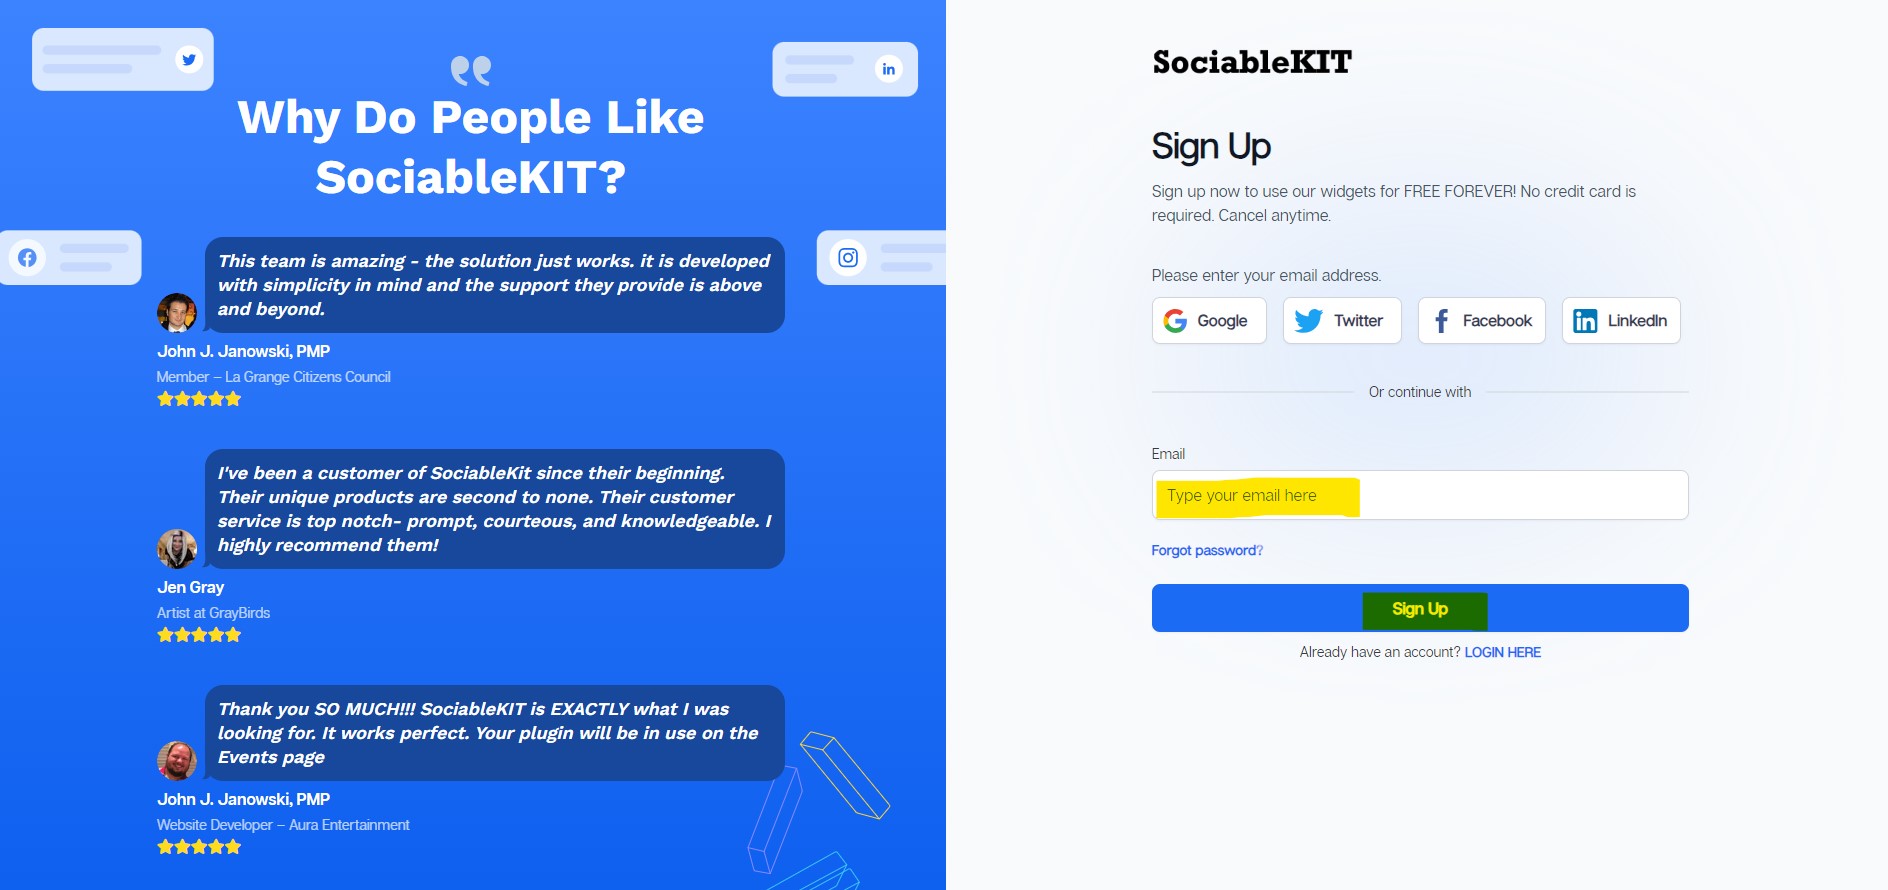
Sign up FREE or login to SociableKIT. You can login here if you already have an account. Once you sign up, you will start your 7-day premium trial. After 7 days, you can activate the free plan if you don't need our premium features.

- Select your User-generated content type on the dropdown.
SociableKIT offers several User-generated content widgets. You might need to search it using the highlighted area below. Once found, you can then select it.
Here are the different types of User-generated content that you can add to your Shopify website :

- Enter your User-generated content ID or username. Copy your User-generated content URL and paste it in the username box. Our system will automatically identify your User-generated content ID or username.
-
Customize your feed. Click the "NEXT" button to show the customization options of your social feed. You can change the layout, colors, font, and more to match your brand. Click the Save changes button.

-
Copy the embed code. Click the "Embed on website" button on the upper right corner. On the popup, copy the JavaScript embed code.

- Paste the embed code and save your Shopify website page. Please follow the second part below to add User-generated content widget to your Shopify website .


Add User-generated content widget to your Shopify website
The second part is adding your User-generated content widget to your Shopify website . After you customize your User-generated content widget and copied the embed code, it is time to add it to your Shopify website . Follow the steps below.
- Get your free embed code from SociableKIT. Make sure you followed the first part above to create your widgget, customize it, and copy your free embed code.
- Log in to Shopify.
![]()
- On the left side, click Online Store.
![]()
- Click “Pages,” then click Add page at the top right. To edit an existing widget page, click its title instead.
![]()
- In your SociableKIT editor, click Get code at the top right.
![]()
- In the Get the embed code window, make sure the JavaScript tab is selected, then click Copy code.
![]()
- Back in Shopify, Click the Show HTML icon (<>) in the Content toolbar.
![]()
- Enter a page title, then click Save.
![]()
- Click the Save button at the top.
![]()
- Click the Preview button at the top right to check your widget. Done!
![]()
![]()


Website builders
Paste your embed code on any platform
SociableKIT works with every major website builder. Pick yours below for copy-paste instructions tailored to that platform.
To embed User-generated content on your Shopify site, follow the steps below after you have your SociableKIT embed code.
- Sign up free to SociableKIT and create your User-generated content widget.
- Customize your widget and copy the embed code from the dashboard.
- Log in to Shopify.
![]()
- On the left side, click Online Store.
![]()
- Click “Pages,” then click Add page at the top right. To edit an existing widget page, click its title instead.
![]()
- In your SociableKIT editor, click Get code at the top right.
![]()
- In the Get the embed code window, make sure the JavaScript tab is selected, then click Copy code.
![]()
- Back in Shopify, Click the Show HTML icon (<>) in the Content toolbar.
![]()
- Enter a page title, then click Save.
![]()
- Click the Save button at the top.
![]()
- Click the Preview button at the top right to check your widget. Done!
![]()
![]()
To embed User-generated content on your WordPress site, follow the steps below after you have your SociableKIT embed code.
- Sign up free to SociableKIT and create your User-generated content widget.
- Customize your widget and copy the embed code from the dashboard.
- Log in to your WordPress site.
![]()
- Go to the Posts section. To add a new widget, click the Add Post button at the top.
![]()
- To edit an existing widget, click the title of the post that has your widget instead. Skip this step if you’re adding a new post.
![]()
- In your SociableKIT editor, click Get code at the top right.
![]()
- In the Get the embed code window, make sure the JavaScript tab is selected, then click “Copy code.”
![]()
- Back in WordPress, click the + icon in the post body, type Custom HTML in the search bar, then select the Custom HTML block.
![]()
- In the HTML tab, paste the code, then click Update.
![]()
- Click the Save button at the top right of your WordPress post (or Publish if it’s a new post).
![]()
- The widget will appear on your WordPress post. Done!
![]()


To embed User-generated content on your Wix site, follow the steps below after you have your SociableKIT embed code.
- Sign up free to SociableKIT and create your User-generated content widget.
- Customize your widget and copy the embed code from the dashboard.
- Log in to Wix.
![]()
- On your existing website, click the “+ Add” button at the top left.
![]()
- Click “Elements”.
![]()
- In the Add Elements panel, click “Embed” from the left menu.
![]()
- Under the Embed section, click “Embed code” to add it to your page.
![]()
- Click the HTML Element on your page, then click the Settings (gear) icon in the toolbar above it.
![]()
- Under “Choose what to embed”, open the dropdown and select “Link”.
![]()
- Paste the link you copied from SociableKIT into the Link field, then click “Apply”.
![]()
- Click “Publish” at the upper right.
![]()
- Click “View Site”. Done!
![]()


To embed User-generated content on your Squarespace site, follow the steps below after you have your SociableKIT embed code.
- Sign up free to SociableKIT and create your User-generated content widget.
- Customize your widget and copy the embed code from the dashboard.
- Log in to Squarespace.
![]()
- In the Pages panel, click the page where you want the widget, then click the Edit button at the top left of the page preview.
![]()
- In the page section, click the Add Block button at the top left.
![]()
- In the search bar, type Code, then select the Code block.
![]()
- In your SociableKIT editor, click Get code at the top right.
![]()
- In the “Get the embed code” window, make sure the JavaScript tab is selected, then click Copy code.
![]()
- Back in Squarespace, open the Code block’s Content tab, make sure the Mode is set to HTML, then paste the embed code in the code area.
![]()
- Click the Save button at the top left of the page.
![]()
- Refresh your Squarespace page to check the widget. Done!
![]()


To embed User-generated content on your Webflow site, follow the steps below after you have your SociableKIT embed code.
- Sign up free to SociableKIT and create your User-generated content widget.
- Customize your widget and copy the embed code from the dashboard.
- Login to Webflow.
![]()
- On your existing website, click the "Page: ...." in the upper left corner then click the "Create new page" icon.
![]()
- Once done add a name for your new page then click "Save".
![]()
- On the left, click "Add Element". Drag "Embed" to your page.
![]()
- Paste the JavaScript code you copied from SociableKIT.
![]()
- On the upper right, click "Publish" > "Publish to Selected Domains".
![]()
- View your page. Done!


To embed User-generated content on your HTML site, follow the steps below after you have your SociableKIT embed code.
- Sign up free to SociableKIT and create your User-generated content widget.
- Customize your widget and copy the embed code from the dashboard.
- Open your HTML file.
![]()
- You can create a new HTML page or edit your existing HTML page.
![]()
- Paste the Javascript code you copied from SociableKIT. Paste it where you want the widget to appear.
![]()
- Save your HTML page.
![]()
- You may now upload your HTML page to your web hosting.


To embed User-generated content on your Google Sites site, follow the steps below after you have your SociableKIT embed code.
- Sign up free to SociableKIT and create your User-generated content widget.
- Customize your widget and copy the embed code from the dashboard.
- Login to Google sites.
![]()
- Create or edit an existing website. Click the ‘Blank site’ tile (the + icon) in the ‘Start a new site’ section to create a new website, or open your existing website from the ‘Recent sites’ section.
![]()
- Create a new blank page or edit your existing page. Identify which page you want the widget to appear on. On the right sidebar, under the ‘Insert’ tab, click the ‘Embed’ button.
![]()
- Add the widget. A popup ‘Embed from the web’ will open. Select the ‘Embed code’ tab, paste the embed code from your SociableKIT widget into the ‘HTML code goes here’ box, then click the ‘Next’ button.
![]()
- Preview your widget. A preview of your SociableKIT widget will be displayed. To change the code, click the pencil icon on the preview. When you’re happy with it, click the ‘Insert’ button to add the widget to your page.
![]()
- Publish your page. Click the ‘Publish’ button on the upper right corner of the page. Done!
![]()


To embed User-generated content on your Weebly site, follow the steps below after you have your SociableKIT embed code.
- Sign up free to SociableKIT and create your User-generated content widget.
- Customize your widget and copy the embed code from the dashboard.
- Log in to Weebly.
![]()
- On your existing website on Weebly, click the "Pages" section on the upper left then click the "+".
![]()
- Select what type of page you want to add.
![]()
- Add a name to your page and then click "Done".
![]()
- On the top menu, click "Build" then on the sidebar, drag the "Embed Code" option on your page.
![]()
- Click the "Click to set custom HTML" then click "Edit Custom HTML".
![]()
- Paste the code you copied from SociableKIT then in the upper right corner, click the “Publish” button.
![]()
- Click the link to your site. Done!


Live preview
Pick a Instagram Hashtag Feed template — see it live
Choose a starting design on the left and watch the preview update with real data. What you see is exactly what visitors get on your Shopify website.
Common questions
Frequently asked questions
Everything you need to know about embedding User-generated content on your Shopify website.
How long does it take to set up the user generated content widget?
You can be up and running in just a couple of minutes. Sign up for a free account, choose your sources, customize the design and then copy and paste a single embed code into your site. There's no complicated installation or technical expertise required.
Do I need to know how to code or install a plugin to use the widget?
No coding skills are required. Simply configure your feed on the SociableKIT dashboard, copy the provided embed code and paste it into any website builder or CMS. The widget works seamlessly on platforms like WordPress, Shopify, Wix and Squarespace without additional plugins.
Which social media platforms does the widget support?
The user generated content widget can aggregate posts from major networks such as Instagram, X (Twitter), Facebook, LinkedIn and TikTok. You can pull content based on hashtags, mentions or handles and display them together in one feed. This multi network support helps you showcase authentic content from all the places your audience engages.
Can I combine multiple hashtags or accounts into one feed?
Yes. You can connect multiple sources under one account and merge them into a single widget. This allows you to mix different hashtags, profiles or pages so that your visitors see a unified stream of user generated content.
Will the widget update automatically when new posts appear?
On paid plans your feed refreshes automatically to keep content current. The free plan allows manual syncing when you need it. Either way your website will always show the latest posts without you having to re embed the code.
Is there a free plan or trial available?
Yes. SociableKIT offers a free plan that includes one source, up to two thousand monthly views and full customization. You can start for free with no credit card required and upgrade only when you need more sources or automatic updates.
Are there any limits on views or widgets on paid plans?
Paid plans include unlimited views and unlimited widgets. You only pay for the number of sources you connect. This means you can create as many widgets as you need across multiple pages without worrying about traffic limits.
Can I customize the look of the feed to match my brand?
Absolutely. You can adjust colors, fonts, layout and call to action buttons to match your site’s style. Choose from various layouts like grid, masonry, carousel or list and even enable dark mode. No matter which plan you choose the design options are fully available.
Does the widget support moderation and filtering?
Yes. You can hide or approve individual posts and filter content by keyword or hashtag. Pro and higher plans include automatic moderation options to save you time. This ensures only suitable content appears on your site.
Do I need to ask permission from content creators?
The widget displays publicly available posts following each platform’s terms of service. For purposes like advertising or repurposing content you should obtain explicit permission from the original creator. SociableKIT helps you embed content ethically and leaves rights management decisions to you.
Will embedding the widget slow down my website?
No. The widget is optimized for performance and loads asynchronously, so it doesn’t block your page. It uses caching and lazy loading techniques to ensure your website stays fast and responsive.
Is the widget responsive and mobile friendly?
Yes. It adapts to any screen size automatically. Whether your visitors are using a desktop, tablet or smartphone, the feed will look great and remain easy to browse.
Which website builders and platforms are supported?
The embed code works on practically any platform that supports HTML, including WordPress, Shopify, Wix, Squarespace, Webflow, Weebly, Google Sites and custom HTML sites. You simply paste the code into your page or widget block.
Do I need to be the account owner or administrator to display posts?
You must have permission to access the accounts or hashtags you connect. For most networks you simply log in through SociableKIT to authorize the feed. If you’re aggregating brand related hashtags you don’t need account ownership but the posts must be public.
Can visitors interact with the posts in the feed?
Visitors can click on any post to view it on the original social platform, where they can like, comment or share. This drives engagement back to your social channels while keeping your website fresh.
How does the call to action feature work?
You can add customizable buttons prompting visitors to follow your social profiles, use a hashtag or make a purchase. These calls to action are easily configured in the dashboard and help turn social proof into conversions.
Is my data secure and compliant with privacy regulations?
SociableKIT connects via official social media APIs and does not store personal information from your visitors. Paid plans include features such as multi factor authentication and secure payment processing, ensuring your data and transactions remain safe.
Do you offer discounts for non profits or long term plans?
Yes. Qualifying non profits receive special pricing and annual plans include two months free. Contact our support team to see if you’re eligible.
How can I cancel or upgrade my subscription?
You can upgrade, downgrade or cancel at any time from your account dashboard. There are no long term contracts, and your widgets will keep working on the free plan if you choose to downgrade.
What kind of support is available if I get stuck?
Our support team is available via chat and email, around the clock on Business and Enterprise plans. Real humans are ready to answer your questions and help you get the most out of your widgets.
Add your User-generated content widget today
Set up in minutes. Free forever to start.
- Select specific widget type:
-
Instagram Hashtag Feed
-
X Hashtag Feed
-
Tiktok hashtag feed
-
Facebook Hashtag Feed
-
Content Aggregator
-
Linkedin Hashtag Posts
Free forever · No credit card · Cancel anytime