Your Microsoft Bookings on WordPress website — live in 3 steps
SociableKIT syncs your microsoft bookings automatically. Set up once, embed anywhere — free to start, no coding required.
-
Create in 60 seconds
Pick Microsoft Bookings in the dashboard and connect your source.
-
Match your brand
Colors, fonts, layout — tune it until it feels native to your site.
-
Paste one line of code
Drop the embed snippet on your WordPress website. No dev team needed.
Embed Microsoft Bookings with SociableKIT — step by step
Create your widget in the dashboard, copy the embed code, and paste it on your WordPress website. Screenshots included so you never get stuck.
Create and customize your Microsoft Bookings widget
The first part is creating your Microsoft Bookings widget using the SociableKIT dashboard. Customize the look and feel to match your brand. Follow the steps below.
-
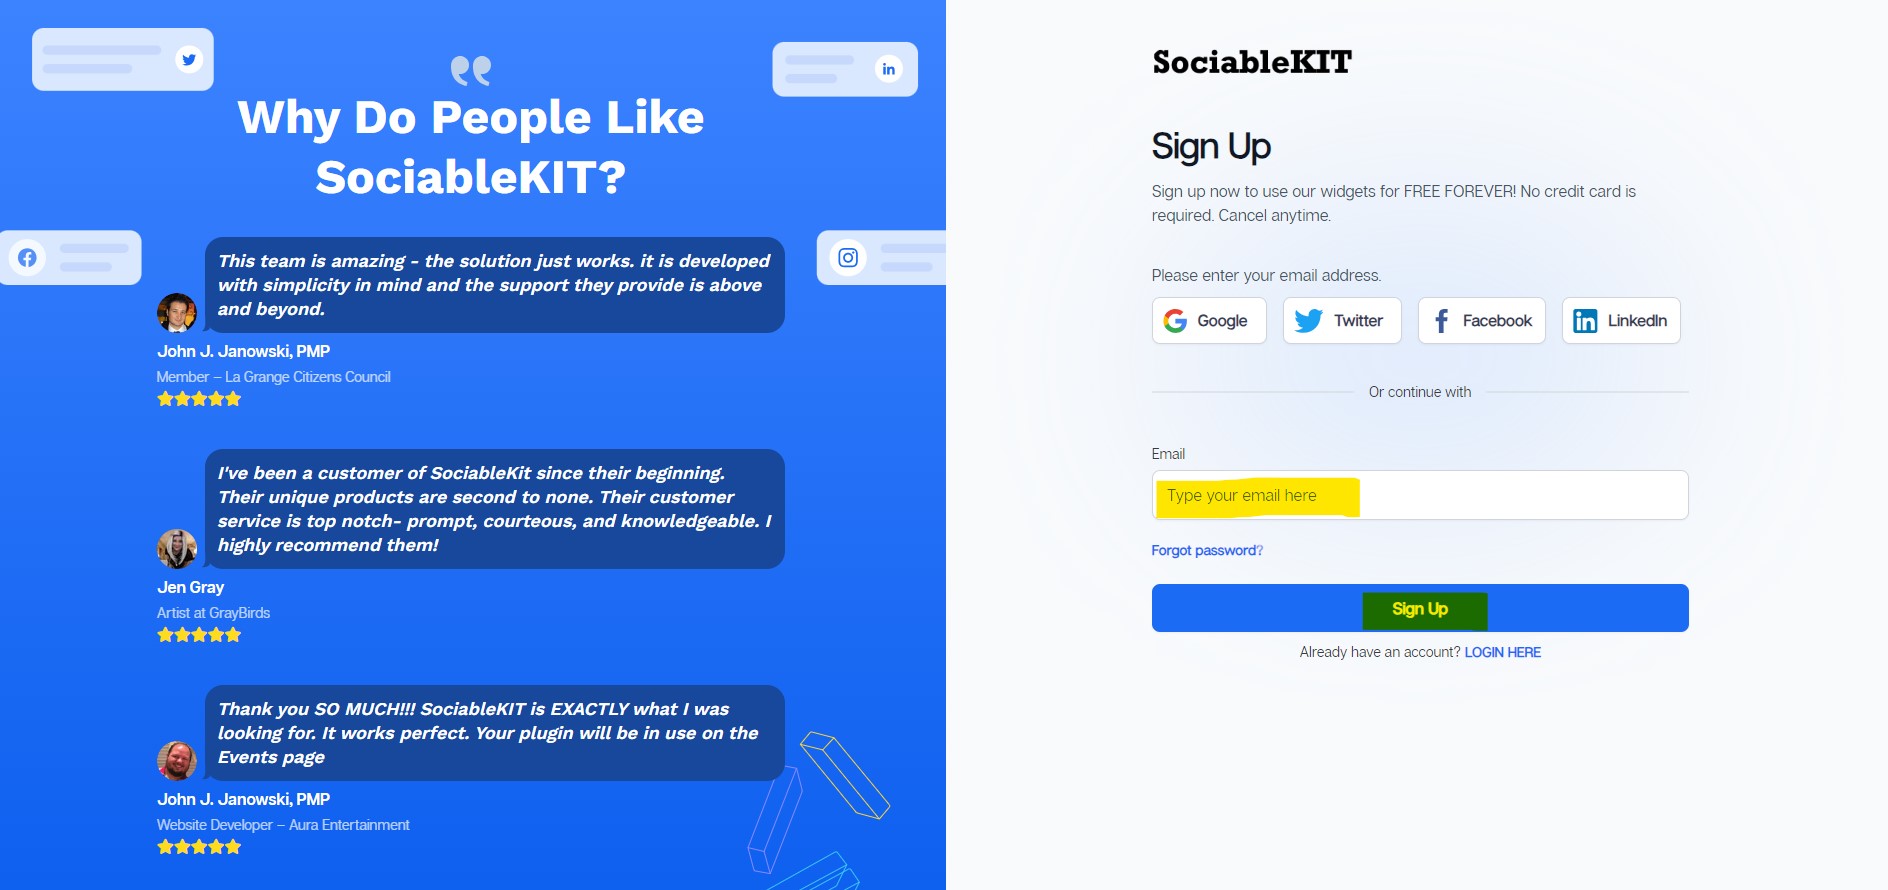
Sign up FREE or login to SociableKIT. You can login here if you already have an account. Once you sign up, you will start your 7-day premium trial. After 7 days, you can activate the free plan if you don't need our premium features.

-
Select "Microsoft Bookings" on the dropdown. SociableKIT offers several social media feeds widgets. You might need to search it using the highlighted area below. Once found, you can then select it.

-
Customize your feed. Click the "NEXT" button to show the customization options of your social feed. You can change the layout, colors, font, and more to match your brand. Click the Save changes button.

-
Copy the embed code. Click the "Embed on website" button on the upper right corner. Select your website builder. On the popup, copy the JavaScript embed code.

- Paste the embed code and save your WordPress website page. Please follow the second part below to add Microsoft Bookings widget to your WordPress website .


Add Microsoft Bookings widget to your WordPress website
The second part is adding your Microsoft Bookings widget to your WordPress website . After you customize your Microsoft Bookings widget and copied the embed code, it is time to add it to your WordPress website . Follow the steps below.
- Copy your free Microsoft Bookings widget embed code. Make sure you followed the first part above. It detailed how to you can create and customize your widget to get your free embed code.
- Log in to your WordPress site.
![]()
- Go to the Posts section. To add a new widget, click the Add Post button at the top.
![]()
- To edit an existing widget, click the title of the post that has your widget instead. Skip this step if you’re adding a new post.
![]()
- In your SociableKIT editor, click Get code at the top right.
![]()
- In the Get the embed code window, make sure the JavaScript tab is selected, then click “Copy code.”
![]()
- Back in WordPress, click the + icon in the post body, type Custom HTML in the search bar, then select the Custom HTML block.
![]()
- In the HTML tab, paste the code, then click Update.
![]()
- Click the Save button at the top right of your WordPress post (or Publish if it’s a new post).
![]()
- The widget will appear on your WordPress post. Done!
![]()


Website builders
Paste your embed code on any platform
SociableKIT works with every major website builder. Pick yours below for copy-paste instructions tailored to that platform.
To embed Microsoft Bookings on your WordPress site, follow the steps below after you have your SociableKIT embed code.
- Sign up free to SociableKIT and create your Microsoft Bookings widget.
- Customize your widget and copy the embed code from the dashboard.
- Log in to your WordPress site.
![]()
- Go to the Posts section. To add a new widget, click the Add Post button at the top.
![]()
- To edit an existing widget, click the title of the post that has your widget instead. Skip this step if you’re adding a new post.
![]()
- In your SociableKIT editor, click Get code at the top right.
![]()
- In the Get the embed code window, make sure the JavaScript tab is selected, then click “Copy code.”
![]()
- Back in WordPress, click the + icon in the post body, type Custom HTML in the search bar, then select the Custom HTML block.
![]()
- In the HTML tab, paste the code, then click Update.
![]()
- Click the Save button at the top right of your WordPress post (or Publish if it’s a new post).
![]()
- The widget will appear on your WordPress post. Done!
![]()
To embed Microsoft Bookings on your Wix site, follow the steps below after you have your SociableKIT embed code.
- Sign up free to SociableKIT and create your Microsoft Bookings widget.
- Customize your widget and copy the embed code from the dashboard.
- Log in to Wix.
![]()
- On your existing website, click the “+ Add” button at the top left.
![]()
- Click “Elements”.
![]()
- In the Add Elements panel, click “Embed” from the left menu.
![]()
- Under the Embed section, click “Embed code” to add it to your page.
![]()
- Click the HTML Element on your page, then click the Settings (gear) icon in the toolbar above it.
![]()
- Under “Choose what to embed”, open the dropdown and select “Link”.
![]()
- Paste the link you copied from SociableKIT into the Link field, then click “Apply”.
![]()
- Click “Publish” at the upper right.
![]()
- Click “View Site”. Done!
![]()


To embed Microsoft Bookings on your Squarespace site, follow the steps below after you have your SociableKIT embed code.
- Sign up free to SociableKIT and create your Microsoft Bookings widget.
- Customize your widget and copy the embed code from the dashboard.
- Log in to Squarespace.
![]()
- In the Pages panel, click the page where you want the widget, then click the Edit button at the top left of the page preview.
![]()
- In the page section, click the Add Block button at the top left.
![]()
- In the search bar, type Code, then select the Code block.
![]()
- In your SociableKIT editor, click Get code at the top right.
![]()
- In the “Get the embed code” window, make sure the JavaScript tab is selected, then click Copy code.
![]()
- Back in Squarespace, open the Code block’s Content tab, make sure the Mode is set to HTML, then paste the embed code in the code area.
![]()
- Click the Save button at the top left of the page.
![]()
- Refresh your Squarespace page to check the widget. Done!
![]()


To embed Microsoft Bookings on your Webflow site, follow the steps below after you have your SociableKIT embed code.
- Sign up free to SociableKIT and create your Microsoft Bookings widget.
- Customize your widget and copy the embed code from the dashboard.
- Login to Webflow.
![]()
- On your existing website, click the "Page: ...." in the upper left corner then click the "Create new page" icon.
![]()
- Once done add a name for your new page then click "Save".
![]()
- On the left, click "Add Element". Drag "Embed" to your page.
![]()
- Paste the JavaScript code you copied from SociableKIT.
![]()
- On the upper right, click "Publish" > "Publish to Selected Domains".
![]()
- View your page. Done!


To embed Microsoft Bookings on your Shopify site, follow the steps below after you have your SociableKIT embed code.
- Sign up free to SociableKIT and create your Microsoft Bookings widget.
- Customize your widget and copy the embed code from the dashboard.
- Log in to Shopify.
![]()
- On the left side, click Online Store.
![]()
- Click “Pages,” then click Add page at the top right. To edit an existing widget page, click its title instead.
![]()
- In your SociableKIT editor, click Get code at the top right.
![]()
- In the Get the embed code window, make sure the JavaScript tab is selected, then click Copy code.
![]()
- Back in Shopify, Click the Show HTML icon (<>) in the Content toolbar.
![]()
- Enter a page title, then click Save.
![]()
- Click the Save button at the top.
![]()
- Click the Preview button at the top right to check your widget. Done!
![]()
![]()


To embed Microsoft Bookings on your HTML site, follow the steps below after you have your SociableKIT embed code.
- Sign up free to SociableKIT and create your Microsoft Bookings widget.
- Customize your widget and copy the embed code from the dashboard.
- Open your HTML file.
![]()
- You can create a new HTML page or edit your existing HTML page.
![]()
- Paste the Javascript code you copied from SociableKIT. Paste it where you want the widget to appear.
![]()
- Save your HTML page.
![]()
- You may now upload your HTML page to your web hosting.


To embed Microsoft Bookings on your Google Sites site, follow the steps below after you have your SociableKIT embed code.
- Sign up free to SociableKIT and create your Microsoft Bookings widget.
- Customize your widget and copy the embed code from the dashboard.
- Login to Google sites.
![]()
- Create or edit an existing website. Click the ‘Blank site’ tile (the + icon) in the ‘Start a new site’ section to create a new website, or open your existing website from the ‘Recent sites’ section.
![]()
- Create a new blank page or edit your existing page. Identify which page you want the widget to appear on. On the right sidebar, under the ‘Insert’ tab, click the ‘Embed’ button.
![]()
- Add the widget. A popup ‘Embed from the web’ will open. Select the ‘Embed code’ tab, paste the embed code from your SociableKIT widget into the ‘HTML code goes here’ box, then click the ‘Next’ button.
![]()
- Preview your widget. A preview of your SociableKIT widget will be displayed. To change the code, click the pencil icon on the preview. When you’re happy with it, click the ‘Insert’ button to add the widget to your page.
![]()
- Publish your page. Click the ‘Publish’ button on the upper right corner of the page. Done!
![]()


To embed Microsoft Bookings on your Weebly site, follow the steps below after you have your SociableKIT embed code.
- Sign up free to SociableKIT and create your Microsoft Bookings widget.
- Customize your widget and copy the embed code from the dashboard.
- Log in to Weebly.
![]()
- On your existing website on Weebly, click the "Pages" section on the upper left then click the "+".
![]()
- Select what type of page you want to add.
![]()
- Add a name to your page and then click "Done".
![]()
- On the top menu, click "Build" then on the sidebar, drag the "Embed Code" option on your page.
![]()
- Click the "Click to set custom HTML" then click "Edit Custom HTML".
![]()
- Paste the code you copied from SociableKIT then in the upper right corner, click the “Publish” button.
![]()
- Click the link to your site. Done!


Live preview
Pick a Microsoft Bookings template — see it live
Choose a starting design on the left and watch the preview update with real data. What you see is exactly what visitors get on your WordPress website.
Common questions
Frequently asked questions
Everything you need to know about embedding Microsoft Bookings on your WordPress website.
What is a Microsoft Bookings widget?
A Microsoft Bookings widget places your appointment booking experience directly on your website. It lets visitors view services and available times in one convenient place instead of contacting your team to arrange every appointment.
How do I embed Microsoft Bookings on my website without coding?
Create the widget in SociableKIT, connect your Microsoft Bookings source, customize the design, and copy the generated embed code. Paste the code into an HTML, custom code, iframe, or embed block on your website.
Can visitors book an appointment without leaving my website?
Yes, visitors can use the embedded booking page to choose an available service, staff member, date, and time from your website. Microsoft Bookings manages the final appointment and confirmation process behind the widget.
What do I need to connect my Microsoft Bookings page?
You need a published Microsoft Bookings page that is available to the customers you want to serve. Follow the SociableKIT source setup, then confirm that the correct business name, services, staff, and available times appear before embedding it.
Do I need a Microsoft 365 account to use the widget?
You need access to Microsoft Bookings through a supported Microsoft 365 setup to create and manage the booking page. Website visitors normally do not need an account unless you restrict the page to people in your organization.
Will availability changes appear on my website automatically?
The embedded booking experience uses the availability configured in Microsoft Bookings, so you do not need to rebuild the website section whenever schedules change. Paid SociableKIT plans also include automatic source syncing, while the free plan provides manual sync requests.
Can Microsoft Bookings help prevent double bookings?
Microsoft Bookings can match service availability with staff calendars and existing Outlook commitments when the settings are configured correctly. This helps avoid offering times when the assigned person is already busy.
Can I offer multiple services with different durations and availability?
Yes, Microsoft Bookings lets you create services with their own names, descriptions, durations, locations, staff, and schedules. You can also make a service unavailable temporarily or apply special hours for selected date ranges.
Can I add buffer time and control how far ahead customers book?
Yes, Microsoft Bookings lets you set preparation or travel time before and after appointments. You can also control minimum notice, maximum advance booking, time increments, and cancellation limits.
Can customers choose a staff member, or can one be assigned automatically?
You can let customers select a specific staff member when that choice suits your service. You can also hide staff selection and let Microsoft Bookings assign an available person based on the schedules you configured.
Will customers see my personal Outlook calendar?
No, customers see only the booking services, staff options, and available time slots you publish. Your private calendar details and the titles of your other appointments are not displayed on the booking page.
Can I restrict who is allowed to book?
Yes, a booking page can be open to the public or limited to people who sign in with an account from your organization. Choose the access setting that fits public appointments, employee scheduling, or internal services.
Can Microsoft Bookings create online meetings?
Yes, an eligible service can create a unique Microsoft Teams meeting link for each appointment. The link can be included in the calendar event and confirmation message so staff and customers know where to join.
Are confirmation emails, reminders, cancellations, and rescheduling supported?
Yes, Microsoft Bookings can send confirmation and reminder emails based on the service settings. Customers can also receive options to manage, cancel, or reschedule appointments when those controls are enabled.
Can I ask custom questions or collect consent during booking?
Yes, you can add optional or required questions for each service, including contact details, notes, or information needed before the appointment. Microsoft Bookings also supports a custom consent message for organizations that need customers to acknowledge data-use terms.
How does the widget handle different time zones?
Microsoft Bookings has separate time-zone settings for the business calendar and the customer-facing booking page. Customers can see appointments in their local time zone unless you choose to always display the business time zone.
Can I accept group or class bookings?
Yes, Microsoft Bookings supports services where several customers reserve the same appointment time. Set the maximum number of attendees for classes, workshops, tours, consultations, or other shared sessions.
Can customers pay through the Microsoft Bookings widget?
Microsoft Bookings does not provide native payment processing for appointments. SociableKIT embeds the booking experience but does not add a checkout, so payment instructions or a separate approved payment workflow may be needed.
Where are bookings and customer details managed?
Appointments, customer details, staff assignments, and service settings remain managed in Microsoft Bookings rather than inside SociableKIT. SociableKIT Business analytics can help measure widget activity, but confirmed appointment records should be reviewed in Microsoft Bookings.
Is the widget customizable, mobile friendly, and available on a free plan?
Yes, SociableKIT lets you adjust colors, fonts, layout, and calls to action, and the widget works across major website builders and screen sizes. The free plan includes one source, one widget, one domain, and up to 2,000 monthly views, while paid plans add automatic syncing, unlimited widgets and views, and human support (24/7 on Business and Enterprise plans).
Add your Microsoft Bookings widget today
Set up in minutes. Free forever to start.
Create your widgetFree forever · No credit card · Cancel anytime